Photoshop tutorial: Light text effect
this time I am going to show you how to make this light text effect. (Click on images to make them bigger) (For this tutorial I have only used Adobe Photoshop CS4 Extended but I'm sure this tutorial can be used in previous versions or other design editors too)
Requirements: Adobe Photoshop
Step 1

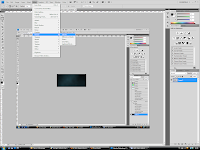
The first thing we need to do is creating a background for our image. So create a new document (I have used 350x150px).
Then we fill the canvas with clouds (Filter > Render > Clouds) (Foreground colour: #18323a, Background colour:#000000).
Step 2
Now we are going to make the text. Type your text with the font you like in white(I have used ''Dark Crystal ''s'' from dafont.com). First duplicate the text layer by dragging it to the ''New layer'' button or by clicking with the right mouse button and press ''Duplicate Layer''. We will need this layer later. Secondly we add some layer effects (Layer > Layer Style > Blending Options)
(Note: for each blending option use the settings from the images below)
- Drop Shadow
- Inner Shadow
- Outer Glow
- Inner glow
- Bevel and Emboss
- Colour Overlay
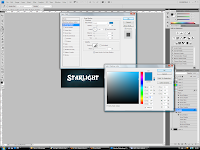
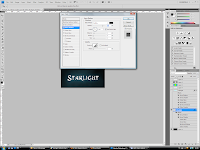
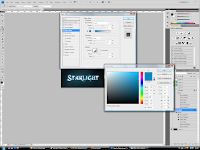
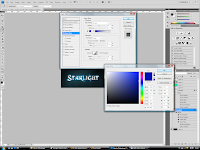
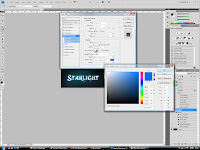
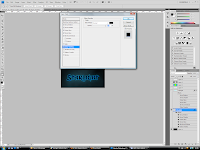
Now take the duplicated layer and change the colour of the text to some sort of light blue (#5cdbff). Place this layer behind/under the non-duplicate layer and move it up by one or two pixels (Press CTRL + Arrow up)
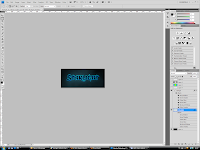
Step 3
In this step we are going to make the glowing swirl around the text. So take the pen tool and just make straight line to each point (on a new later). Now by using the Convert to point tool (right click on the Pen tool icon and select Convert to Point tool) make curves. Do this by dragging the squares of path in another direction so you will get nice smooth curves.
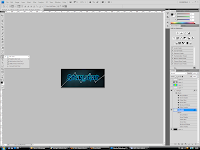
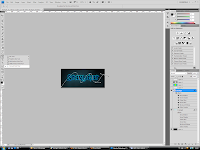
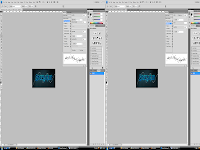
Now stroke the path by going to the Path channel right click on the path and choose stroke path (Be sure that the brush is a round 5px brush). Now stroke it again but be sure that the brush's size and count jitter are on 100% and scatter is on 1000%. Now put the layer blending style to Linear Dodge (Add) and Fill: 50%. Now erase some parts which overlay the letters (Flowline overlay, does not overlay, overlay, does not etc..)so it looks like he is going in front and then behind and then back to the front etc.


Step 4
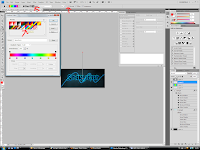
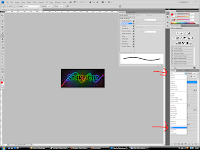
Now lets create the nice rainbow effect. Create a new layer and take the Gradient tool (Select the square Diamond Gradientshape). Select a rainbow Colourgradient (the one withut transparency) Tick the reverse button and drag fromout the middle till a few pixels above your canvas (Hold shift while dragging to get a straight line). Change the layers blending style to Hue.
Step 5
For this step we need to have the default black and white colours. When you still have the gradient map (Select the Radial Gradientshape) and select Foreground to transparent as a Colourgradient. Now drag fromout the middle to one of the edges (maybe a little bit further) (hold shift again while dragging to get a straight line).
The last touch: make a lense flare in the middle (Filter > Render > Lens Flare) Just keep the default settings but place the lens flare almost exactly in the middle. Now press okay. and you are done.
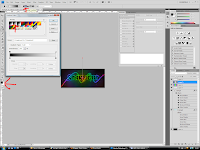
Congratulations! You made a cool light text effect:
 (Note: If anything went wrong or if anything misses please comment, if it went well comment, and post a link to your result)


very cool!